
Most smart gadget caches need to:
- power on
- have the geocacher solve an interactive game or puzzle
- pop open the cache container
- and shut down.
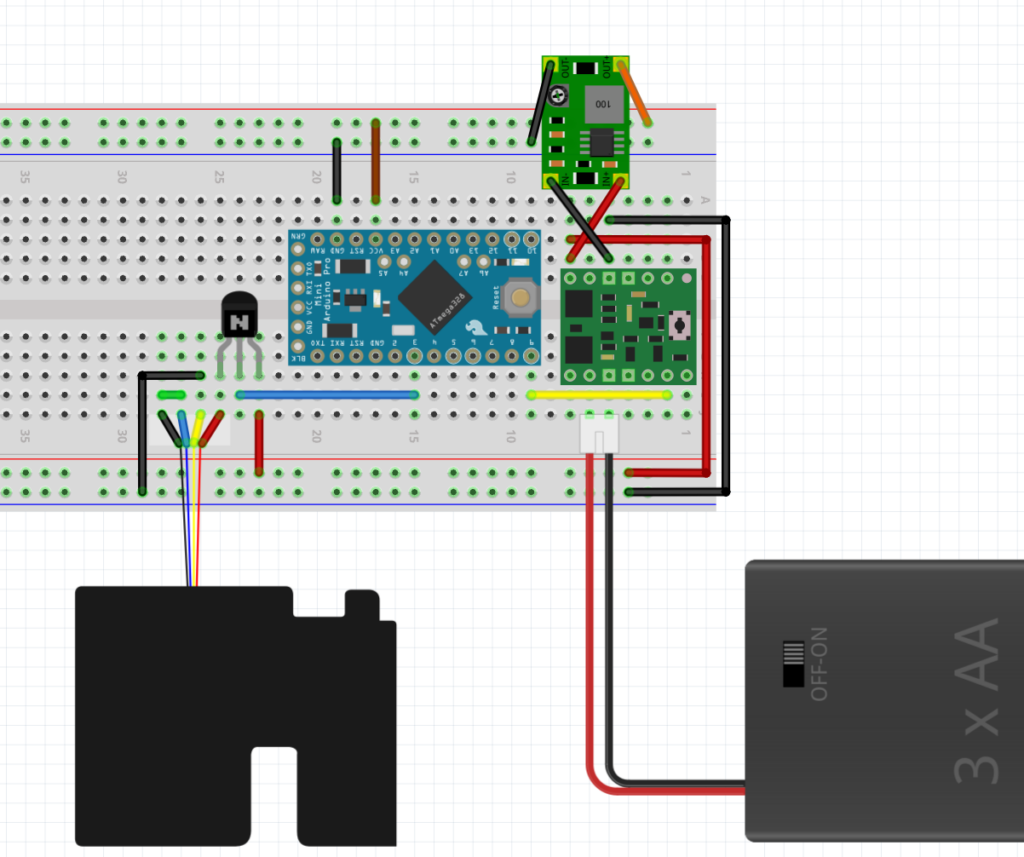
This template covers all but step #2 and uses minimal power to do it. Here’s a layout of the circuit:
Parts List
Some of these parts are interchangeable, but I’ve linked to the versions I am using:
Circuit Run-Through
Here’s a basic run-through describing the parts and purpose of the circuit:
Power On
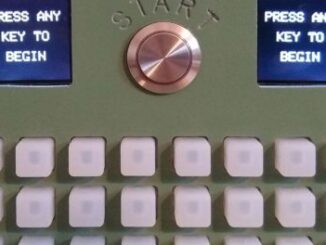
For the first step, the cache needs to power on. For this, we use a Pololu soft power switch. It’s the lower green IC in the diagram above. It has a built-in button control you can wire in to any type of momentary button or switch that you want. I’ve mainly used standard light-up buttons to do this, but you can also get sneaky and use something like a reed switch that is invisible to the geocacher.
Interactive (& power savings)
Step #2 will be different for every cache, but to minimize power use, I’d recommend starting with an Arduino Pro Mini (or equivalent). It’s the blue IC above. It does not not have an on-board USB connection, which makes things a little trickier when programming, but saves at least 25mA when you deploy your smart gadget out in the wild.
This controller runs at only 3.3V and 8Hz, so it’s not among the more powerful boards, but if you’re just using LEDs, buttons, and even I2C and SPI sensors and displays, it will work just fine.
I power the whole thing with 3 AA Energizer Ultimate Lithium batteries. They work below freezing and can provide over 3000 mAh (milliamp-hours) at roughly 5V over their lifetime. Because we need to power the board at 3.3V, I use a buck converter to drop that 5V down to 3.3V before I supply it directly to the Arduino via the top rail. They make a variety of buck converters, but I use a cheap version that has a screw dial so you can adjust it perfectly to 3.3V. It’s the upper green IC in the diagram.
Pop Open the Cache Container
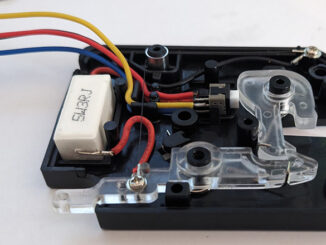
I’ve written a whole other blog entry on this 5V latch. Because it needs 800mA of power, it cannot be powered through the Pro Mini. Instead, I’m using a transistor as a switch. Normally, the switch is closed, but when I send a high signal to the center pin of the transistor (the blue wire), it will let power flow through it. So, I wire up the latch on its own 5V circuit, powered from the batteries before the buck converter. The top rail in the diagram is at 3.3V, but the bottom is at 5V (for just the latch).
I also run that 5V circuit through a sensor on the latch. When the latch is closed, the circuit is complete. But once the latch opens, the circuit is broken — this allows that 5V / 800mA circuit to shut off immediately after the latch releases. It ends up drawing that currect for about one second before the latch pops open.
Turn off the Cache
Again, this is all about power savings. Once the cache door is opened, the power can be cut to the entire circuit by sending a high signal to the Pololu board to the “OFF” pin. It’s the yellow wire in the diagram.
The Code
Every smart gadget is going to have different code. For this template, I’m waiting two seconds, sending a signal to open the latch, waiting five seconds, and then powering down. I blink the on-board LED at each step.
void setup() {
  pinMode(3, OUTPUT);
  pinMode(9, OUTPUT);
  pinMode(LED_BUILTIN, OUTPUT);

  blinkBuiltinLED();           // blink the LED when the cache is turned on
  delay(2000);                 // wait 2 seconds

  blinkBuiltinLED();           // blink LED to indicate action
  digitalWrite(3, HIGH);       // send HIGH on pin 3 to release the latch
  delay(5000);                 // wait another 5 seconds

  blinkBuiltinLED();           // blink LED to indicate action
  digitalWrite(9, HIGH);       // send HIGH on pin 9 to turn off power
}

void loop() {
  // nothing needed here
}

void blinkBuiltinLED() {
  digitalWrite(LED_BUILTIN, HIGH);
  delay(200);                  // short blink
  digitalWrite(LED_BUILTIN, LOW);
}
Code language: JavaScript (javascript)
The Result
The circuit consumes 7mA while on and blinking the LED, and 800mA for the 1 second it takes to open the latch. If we estimate that it would take 10 minutes (600 seconds) to “play” the gadget, that means each play consumes:
If the batteries provide 3000 mAh over their lifetime, then:
your gadget cache should be good for over 2000 plays! Now, the extra sensors and displays will take some power as well, but you can measure the amount of amps your circuit is using and do this simple math to determine how many times you cache can be found from one set of batteries. In most cases, it is hundreds of attempts! If you really need more power, you can use 2 set of 3 batteries in parallel to double the mAh provided to 6000.
If you use this template in your next smart gadget cache, I’d love to hear about it. Please leave a comment!
Be the first to comment